
Conker season is short, and the disappointment of a broken one is long. Anyone who has stood in a playground in October holding a split shell and a dangling piece of string knows the feeling. The conkers that survive a whole afternoon are rarely the biggest ones. They are the ones that were chosen, dried, drilled and tied with a bit of care in the days beforehand.
The routine below is simple. Pick carefully, dry slowly, drill cleanly, thread properly, then look after the knot. Most of it can be done at the kitchen table in twenty minutes, with a week of waiting in between.
Choosing a conker worth the effort
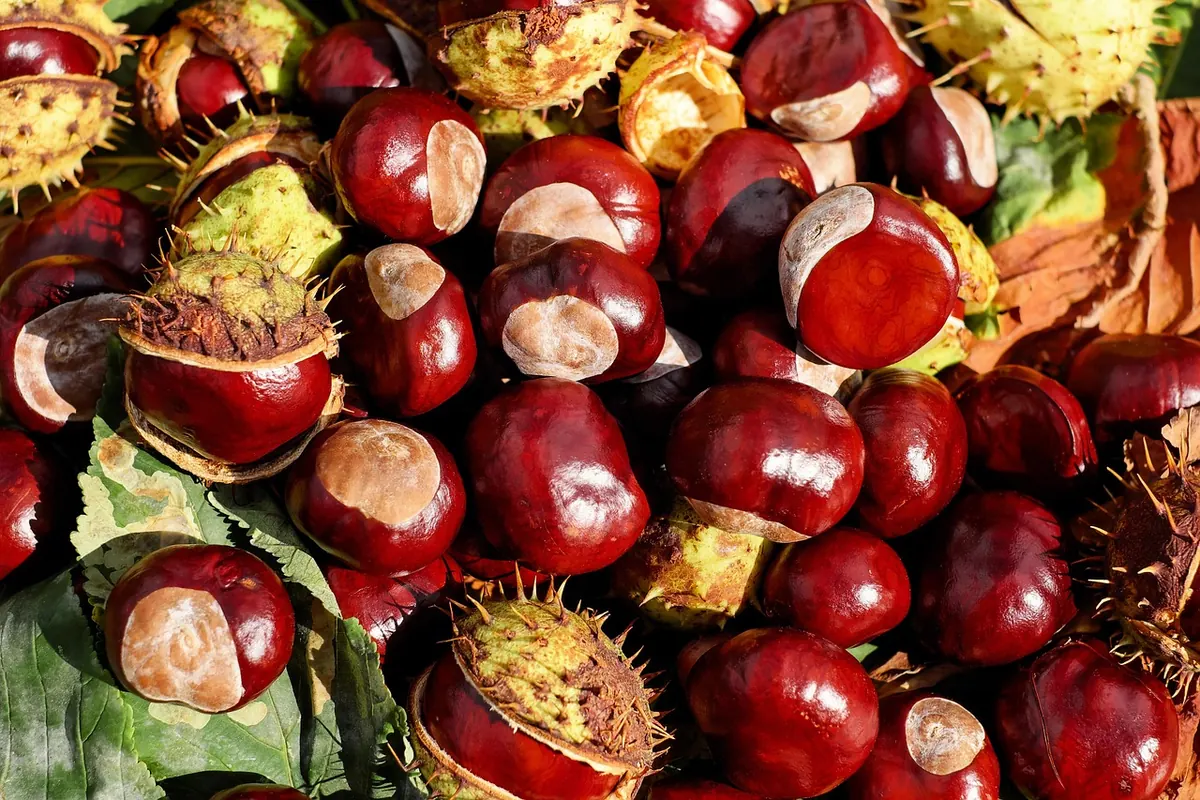
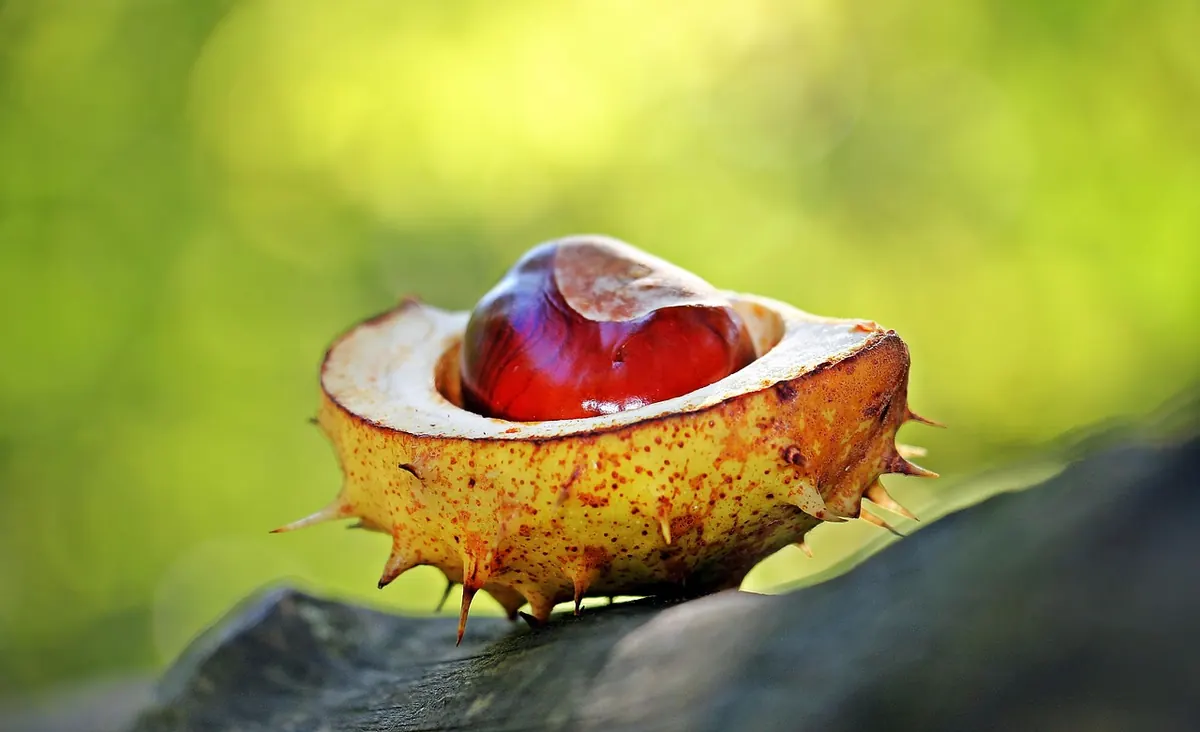
Start with the raw material, because no amount of preparation rescues a bad conker. The best ones drop out of the spiky husk on their own and land on dry ground. If you have to prise them out, they are usually still green underneath and will shrink and wrinkle as they dry, leaving a shell that feels light and hollow.
- Heft. Hold a conker in your palm. It should feel heavier than it looks. A small dense one will outlast a big spongy one almost every time.
- Shape. Round and symmetrical is ideal. Odd lumps create thin spots where a crack will start.
- Surface. Reject anything with hairline cracks, soft patches, or a tiny round hole. That hole usually means a larva has been inside, and the shell is hollow.
- Colour. A good conker is a deep, even mahogany brown. Pale, greenish or mottled ones are unripe.
Gather far more than you need. A dozen picked up in a good year might yield four or five worth threading. Keep the spares in a paper bag, not a plastic one, which traps moisture and invites mould.
One practical note: conkers are not edible. They contain a substance that is harmful to people and particularly to dogs, so wash your hands after handling them in bulk and keep them away from pets and small children who might chew them. If you think a child or animal has eaten one, call a vet or a medical helpline rather than waiting to see what happens.
Hardening: what works and what ruins a good conker
Hardening is where folklore gets enthusiastic and results get unreliable. Here is the honest version.
Air-drying: slow, boring, effective
Spread your conkers in a single layer somewhere cool, dry and airy, and leave them for a week or two, turning them every few days. They will harden, darken slightly and lose a little size. This is the method that has produced every genuinely tough conker. The gold standard is a conker kept from last year: dense, dry and almost impossible to crack.
Vinegar
The traditional soak is a day or two in malt vinegar, then a thorough drying. It firms the shell a little and darkens it. It is easy to overdo, though, and an over-soaked conker can go brittle or soft. If you try it, keep it short and dry the conker properly afterwards.
Baking
Warm ovens dry conkers fast, and fast drying cracks them. Plenty of conkers have been ruined this way, and plenty of players have given up on it. If you want to experiment, keep the heat low, put them on a tray, watch them constantly, and accept that you will lose some.
Varnish, polish and hairspray
These seal the surface, which sounds helpful but often makes the conker slick, so the string slips and your grip goes. Many organised competitions require a plain, natural conker, so vinegar, baking and coatings may rule you out. Check the rules before the day rather than at the registration table.
If in doubt, dry it and leave it alone. A well-dried conker beats a cleverly treated one.
Drilling the hole without splitting the shell
Drill a few days into drying, while the conker has firmed up but is still slightly yielding. You need a drill bit around 3 to 4mm, slightly narrower than your string, plus a vice or clamp, a scrap of wood and a pair of pliers.
- Find the pale circular scar where the conker sat in its husk. Drill straight through from there to the opposite side so the string runs evenly through the middle.
- Clamp the conker gently in a vice lined with cloth, or hold it with pliers. Never hold it in your fingers while drilling.
- Run the drill slowly and let the bit cut. Push hard and the shell will split.
- Press a scrap of wood against the far side so the bit exits into it instead of blowing a ragged hole.
- Clear the dust from the hole with a piece of wire or a stiff pipe cleaner, then check that the hole is straight and central.
A bradawl or a thick needle can work if you have no drill, but it wedges the shell apart rather than cutting it, so expect a few losses. Sharp bits, a steady bench and adult supervision for younger players all matter here.
Threading and tying it properly
Use nylon cord, a thin bootlace or strong garden twine. Skip anything elastic, and skip old string that has gone furry and weak.
Tie a stopper knot at one end, an overhand or figure-eight doubled on itself, big enough that it cannot pull back through the hole. Thread from the top so the knot sits underneath the conker. If the hole has widened, slip a small bead above the knot to spread the load; a bare knot can chew into the soft underside and open the shell.
Leave a tail roughly the length of your forearm, about 25 to 30cm. Long enough to swing properly, short enough to control. Finish the free end with a knot or a wrap of tape so it does not fray. Then hold the conker up and check the string runs straight, not at an angle through the hole.
Keeping it going through a long afternoon
Check the knot after every few games. Cord creeps, and a knot that has worked loose is the most common reason a conker suddenly drops off the end of its string. Re-tie it snug and carry on.
Conkers shrink as they dry, so one threaded while still slightly damp will loosen within a week. Simply re-tie it, or move the string through the hole slightly so it grips a fresh part of the shell. If a crack appears near the hole, retire that conker to the spares pocket before it fails mid-game. Keep two or three ready and rotate them, so no single one takes all the punishment.
Finally, avoid leaving conkers on damp grass overnight. Take them in, let them dry at room temperature and store them in a tin or a paper bag. Warm radiators are the enemy, since heat makes the shell brittle.
Before you head out
- Pick dense, round, crack-free conkers and gather more than you need.
- Dry them slowly in a cool, airy spot for a week or two.
- Drill straight through the scar with a 3 to 4mm bit, clamped safely.
- Tie a proper stopper knot with a bead above it, and check the string length.
- Take spares, and re-tie anything that starts to slip.
Do that, and the conker in your hand on Saturday will still be there on Saturday evening.
Photo: NoName_13 / Pixabay