
There's a moment in every conker season when a champion lets itself down. You swing, the strings cross, and instead of the crisp crack you were promised there's a dull thud, a small explosion of shell, and a long walk home. That's usually when somebody in the group mentions baking, or vinegar, or the tin of clear varnish in the shed.
Hardening a conker is part craft, part etiquette. Some methods genuinely make a conker denser and tougher. Others change how it looks while quietly making it brittle. A few will get you disqualified before the first swing. Here's what each approach does, what it risks, and how to choose.
What hardening actually does
A fresh conker is mostly water. Straight off the ground it feels heavy and slightly soft, and the shell will dent under a thumbnail. As it dries, that moisture leaves and the kernel shrinks, so the shell pulls tight and the whole thing becomes denser and harder. Every method below is chasing that effect, one way or another.
The trick is to dry it slowly and evenly. Heat it too fast and the outside hardens while the inside shrinks, which cracks the shell — and a cracked conker is a dead conker. Coat it too early and you seal the moisture in, the opposite of what you wanted. Think of the shell as a lid: you want it tight, not painted shut.
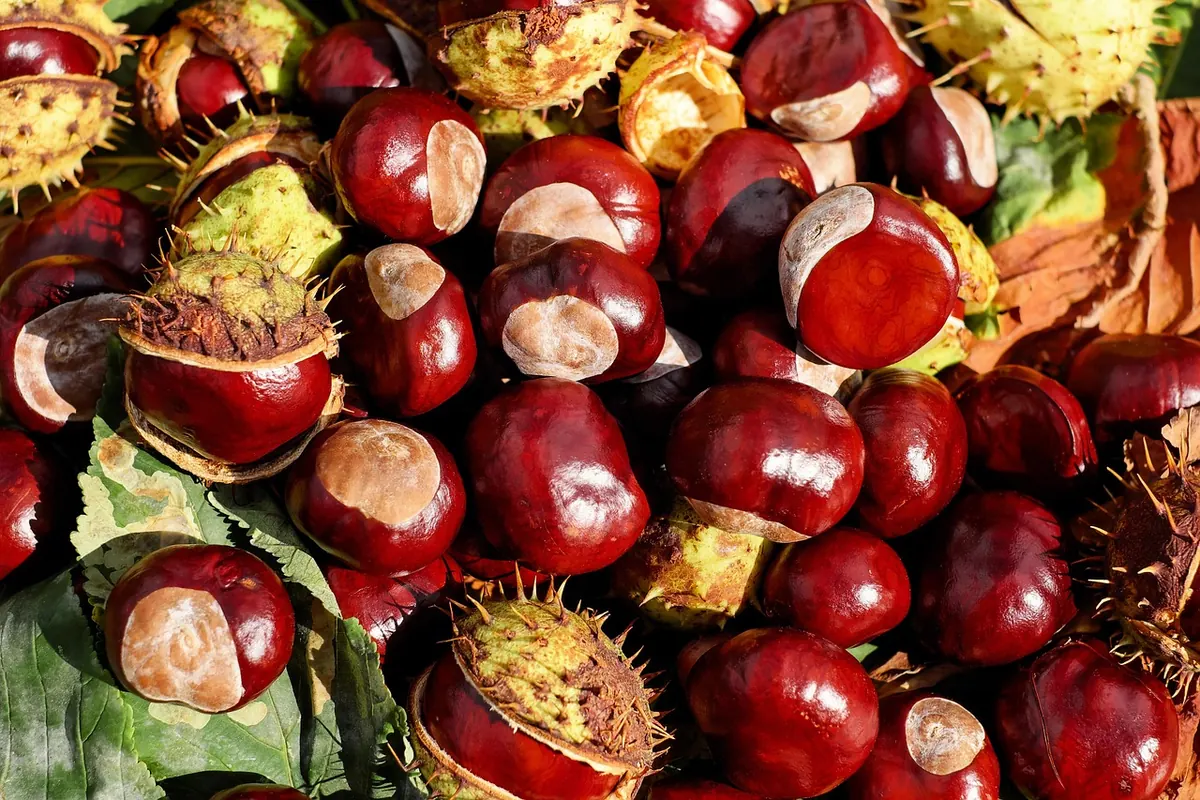
Start with the right conker. Look for dark, glossy, heavy ones that feel solid for their size, with no holes, soft spots or splits. Small and dense beats big and hollow almost every time.
Baking and roasting in the oven
Low and slow is the only version of this worth trying. Put the conkers on a lined tray, set the oven to its lowest setting, and leave the door slightly ajar so moisture can escape rather than cook the shell. Check every few minutes. You're aiming for them to feel lighter and harder, not to change colour dramatically.
Signs you've gone too far: a scorched, acrid smell, dark patches, hairline cracks, or a hollow rattle when you shake one. Any of those and you've traded a usable conker for a brittle one.
If it smells like a bonfire, you've already lost the conker.
Skip the microwave entirely. Conkers can heat from the inside, split violently, and in the worst cases scorch or catch fire in the microwave itself. It's a poor way to end an afternoon. And once a tray or a conker comes out of the oven it holds heat for a while, so let it cool properly before anyone picks it up.
Vinegar soaks
The vinegar method has been passed around playgrounds for decades. Soak conkers in white or malt vinegar — some people add a spoonful of salt — for a day or two, then let them dry somewhere airy for a week or more. The acid draws moisture out and firms the surface, and the finished conker usually looks a shade darker and feels tight.
- Use a glass or plastic container, not a metal one.
- Keep it out of the area where you prepare food, and label it. Vinegar smells, and the smell clings.
- Dry them at room temperature in moving air, not on a radiator or in a hot cupboard.
- Expect a faint whiff of chip shop for a few days. It fades.
The risk is over-soaking, which makes the shell brittle so it cracks on impact instead of flexing. A day is often plenty. The upside is that a soaked, dried conker is still a natural conker, which matters when you get to the rules.
Vinegar then a short bake
Soak first, dry properly, then give them a brief warm-up in a low oven. You get the firming from the soak and the last of the moisture driven off, without the brittleness of a long bake. Keep the oven time short and watch them the whole way.
Varnish, nail polish, glue and wax
Coating a conker is the most visible option and the most likely to be banned. Clear varnish, nail polish, PVA glue and beeswax all seal the shell. Done after the conker is fully dry, a thin coat reduces moisture swings and gives a hard, glossy surface that resists scuffing.
The downsides are real. Coatings add weight and change the bounce, so a varnished conker can slip off the string or skitter away at a strange angle. Thick layers crack and flake under impact, which looks worse than a natural scuff. Solvent-based varnishes and nail polish give off fumes, so use them somewhere ventilated, keep them away from young children and follow the label.
Wax and oil are gentler. They darken the shell and feel good in the hand, but they can stay slightly tacky and will mark a pocket. Oil can turn rancid over time.
Other methods, and what they really do
- Freezing. Ice expands inside the shell. You get cracks, not hardness.
- Boiling. Cooking softens the kernel and leaves the shell rubbery. It's the reverse of what you want.
- Cola or sugar soaks. Sticky, attractive to insects, and no better than plain drying.
- Drilling and filling. Against the spirit of the game and, in most playgrounds, against the rules.
- A long, quiet dry in a tin. Not exciting, and it beats most of the above.
What schools actually allow
Hardening a conker isn't really a legal question, it's a school-rules question, and the rules vary. Many schools ask for plain, natural conkers and specifically exclude baked, soaked, varnished or drilled ones. Some ban conker fights altogether, or allow them only with goggles, a single-knuckle swing and a minimum size. Before you spend a week on a vinegar soak, check what your school or club permits. Ask a teacher rather than guessing, and if the game is happening at home, agree the rules with everyone playing first.
Two safety notes worth repeating: horse chestnuts are not edible, so keep them away from anyone who might try one, and keep varnish, solvents and hot trays away from young children. If you're unsure whether a method is safe, or allowed where you're playing, ask an adult or the organisers before you start.
A routine that gives the best odds
- Pick hard, dark, glossy conkers with no holes or cracks.
- Wash and dry them, then leave them in a cool, airy place for several days.
- Make a clean hole through the centre with a skewer or a small drill — get an adult involved for power tools.
- Optional: a day in vinegar, then a week of air drying.
- Optional: a few short minutes in a low oven, checked constantly.
- Skip the varnish unless the rules allow it. A light wax is kinder.
- Restring before every game and carry spare lace.
The best conkers are rarely the ones that spent a weekend in the oven. They're the ones that dried properly, got a clean hole through the middle, and went into the game on a decent string. After that it's mostly about the swing.
Photo: AJP_Photography / Pixabay